LAMP (Linux, Apache, MySQL, PHP) adalah istilah yang umum digunakan untuk instalasi Apache + MySQL + PHP di Server Linux. Seiring perkembangan software, MySQL kini sudah digantikan dengan MariaDB sehingga istilah LAMP menjadi Linux Apache MariaDB PHP. LAMP server merupakan perangkat lunak server yang dibutuhkan agar aplikasi web dengan bahasa pemrograman PHP dan database MySQL dapat berjalan. LAMP server dapat digunakan sebagai web server pengembangan aplikasi (development environment) maupun sebagai server untuk menjalankan aplikasi web secara real (production environment), tidak seperti dengan XAMPP yang hanya cocok digunakan sebagai development environment.
Ikuti langkah-langkah di bawah ini untuk mengintal LAMP di Ubuntu :
Install Apache Web Server
1. Pertama-tama Anda buka terminal. Baik dengan cara Anda membuka dash pada Unity atau dengan kombinasi tombol CTRL + ALT + T dan instal Apache dan PHPnya terlebih dahulu.
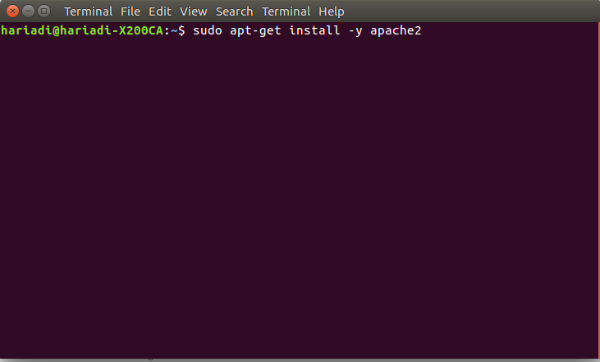
2. Instalasi Apache webserver bisa dilakukan melalui perintah apt-get seperti dibawah ini:
sudo apt-get install -y apache2
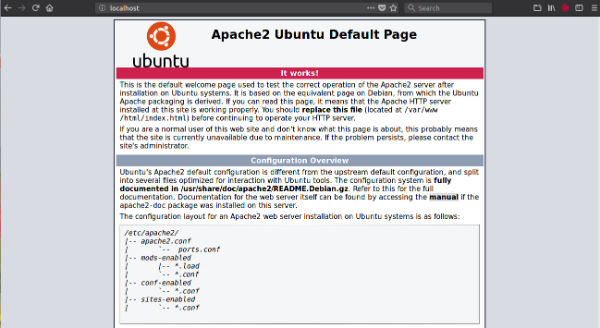
Setelah selesai menginstal apache web server, Anda bisa mengeceknya melalui browser Anda dengan mengetikkan URL http: // yourIP atau dengan mengetik http://localhost/
Anda bisa melihat hasil ini:
Install MariaDB
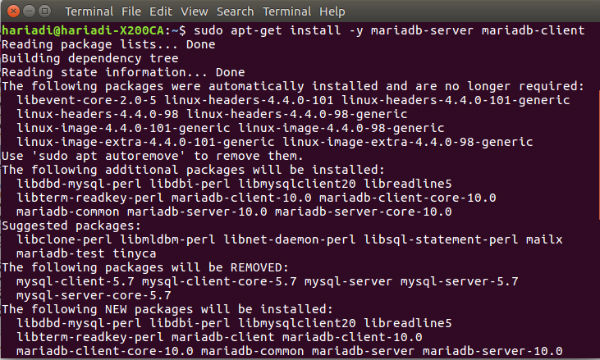
1. Dalam tutorial ini, kita menggunakan MariaDB untuk menggantikan MySQL. Anda bisa menginstal mariadb dengan perintah ini:
sudo apt-get install -y mariadb-server mariadb-client
2. Langkah selanjutnya adalah memulai layanan mariadb:
sudo service mysql start
Anda dapat memeriksa status layanan untuk mariadb dengan perintah ini:
sudo service mysql status
3. Untuk mendapatkan keamanan yang lebih baik di mySQL Anda, jalankan perintah ini:
sudo mysql_secure_installation
Hasilnya mungkin seperti ini:
NOTE: RUNNING ALL PARTS OF THIS SCRIPT IS RECOMMENDED FOR ALL MariaDB
SERVERS IN PRODUCTION USE! PLEASE READ EACH STEP CAREFULLY!
In order to log into MariaDB to secure it, we’ll need the current
password for the root user. If you’ve just installed MariaDB, and
you haven’t set the root password yet, the password will be blank,
so you should just press enter here.
Enter current password for root (enter for none):
OK, successfully used password, moving on…
Setting the root password ensures that nobody can log into the MariaDB
root user without the proper authorisation.
You already have a root password set, so you can safely answer ‘n’.
Change the root password? [Y/n] n
… skipping.
By default, a MariaDB installation has an anonymous user, allowing anyone
to log into MariaDB without having to have a user account created for
them. This is intended only for testing, and to make the installation
go a bit smoother. You should remove them before moving into a
production environment.
Remove anonymous users? [Y/n] y
… Success!
Normally, root should only be allowed to connect from ‘localhost’. This
ensures that someone cannot guess at the root password from the network.
Disallow root login remotely? [Y/n] y
… Success!
By default, MariaDB comes with a database named ‘test’ that anyone can
access. This is also intended only for testing, and should be removed
before moving into a production environment.
Remove test database and access to it? [Y/n] y
– Dropping test database…
… Success!
– Removing privileges on test database…
… Success!
Reloading the privilege tables will ensure that all changes made so far
will take effect immediately.
Reload privilege tables now? [Y/n] y
… Success!
Cleaning up…
All done! If you’ve completed all of the above steps, your MariaDB
installation should now be secure.
Thanks for using MariaDB!
Install PHP7
Setelah mengintall Apacahe2 dan database MariaDB, langkah selanjutnya adalah menginstall PHP.
Untuk menginstall PHP 7.0, ketikkan perintah berikut pada terminal :
sudo apt-get install php7.0 php-pear libapache2-mod-php7.0 php7.0-mysql php7.0-curl php7.0-cgi php7.0-xml
Untuk menguji PHP 7.0 sudah berjalan atau belum, yaitu dengan membuat halaman PHP info di direktori /var/www/html.
sudo nano /var/www/html/info.php
kemudian isi dengan script berikut pada file info.php
<?php
phpinfo()
?>
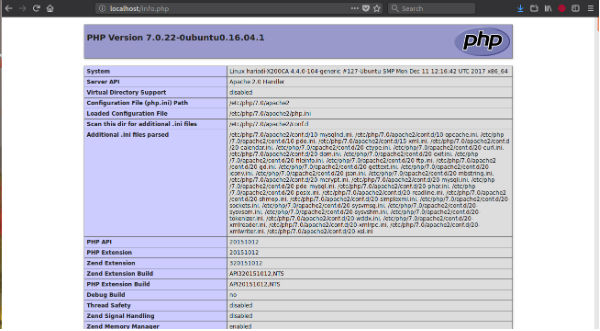
untuk menguji apakah PHP sudah berjalan apa belum, ketikan http://localhost/info.php pada URL browser. apabila sudah berjalan maka akan muncul seperti tampilan dibawah ini :
Sampai disini konfigurasi LAMP Server pada Ubuntu 16.04 sudah selasai dan sudah bisa menaruh script web yang akan di host, umumnya script web bisa ditaruh di direktori /var/www/html agar bisa diakses dari public.